Documentation · Rev. 01
Everything 2resize can do.
A guide, a real before-and-after example and an options reference for all 31 tools, plus narrated video walkthroughs of the workspace.
01 · Quick start
From photo to download in three steps
STEP 01
Add images
Drop files or a whole folder anywhere on the page, click Choose images, or paste a screenshot.
STEP 02
Set what you need
Each tool opens with its step ready. Change the numbers and the preview, pixel size and file size update at once.
STEP 03
Download
One image downloads directly. A batch downloads as a single ZIP. Nothing is uploaded along the way.
Read the transcript
Welcome to 2resize. In the next minute, I'll show you how to resize an image, right here in your browser. Your photo appears in the middle. This one is 4000 × 3000 pixels, and almost 3 MB. On the left is your recipe. It already has a Resize step, so just type the width you want. Let's use 800. The height follows automatically, so the picture keeps its shape. Drag the handle to compare. The original is on the left, and the result is on the right. Need a size for social media? Pick a preset, like an Instagram post, or a YouTube thumbnail. You can also scale by percent. 25% makes a quick, small copy. On the right, you can see the new file size before you download anything. When it looks right, click Download. Your photo never leaves your device.
02 · The workspace
One editor for every tool
Every tool opens the same workspace, so what you learn once works everywhere.
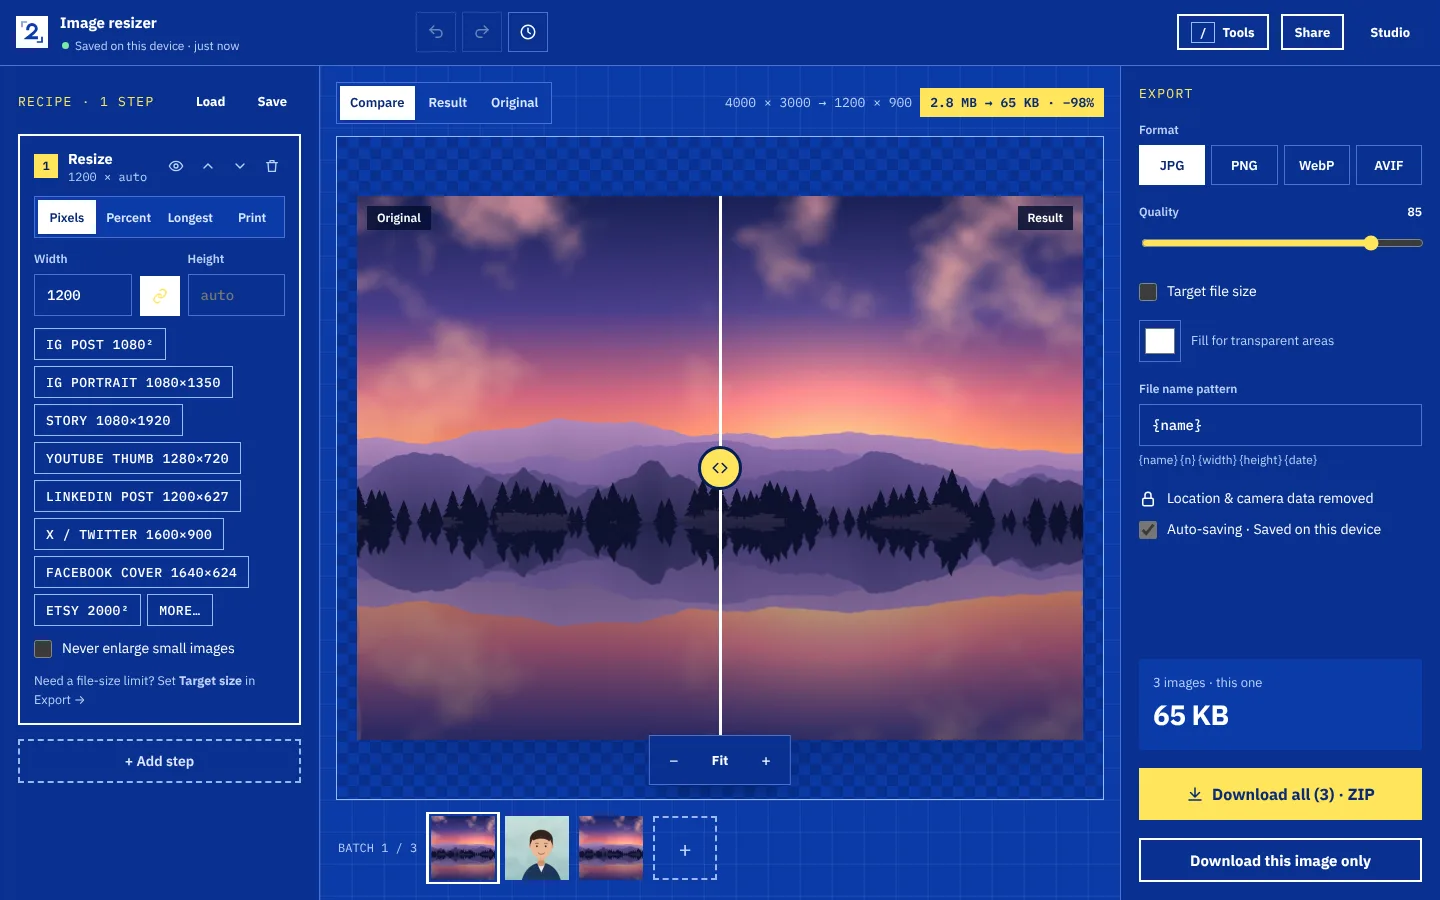
Left: your recipe
- Steps
- Each step is one change, such as Resize or Crop. Click a step to open its settings.
- Step buttons
- Hide a step with the eye, move it up or down, or delete it.
- Add step
- Resize, Crop, Rotate, Flip, Border & padding, Background colour, Brightness & colour, and Text & watermark.
- Load / Save
- Reuse a set of steps as a recipe.
Middle: the preview
- Compare / Result / Original
- Compare shows both with a handle you can drag.
- Size readout
- Pixel dimensions and file size, before and after, with the percentage saved.
- Zoom
- Fit to the window, or zoom in and out to check detail.
- Image strip
- Every image in the batch. Click one to preview it, or use the + to add more.
Right: export
- Format and quality
- Choose the file type and how hard to compress.
- Target file size
- Set a limit in KB and let the tool find the settings.
- Estimate
- The size of the file you are about to download.
- Download
- Saves one file, or the whole batch as a ZIP.
Undo, redo and version history are at the top of the workspace, next to the project name.
03 · Recipes & batches
Stack steps, run them on everything
Steps run from top to bottom on every image in the batch. Change an early step and the later ones are re-run automatically.
Read the transcript
Let's prepare three photos for Instagram, all at once. They're in the strip at the bottom. Click any one to preview it. The Crop step sets the shape. Choose 4:5, the tall format that fills the feed. Smart focus finds the subject in each photo, so nobody gets cut off. Now add a second step. Click Add step, and choose Resize. Pick the Instagram portrait preset: 1080 × 1350. The two steps run in order, on every photo. Check each one in the strip. Click Save to keep these steps as a recipe you can reuse. Then download everything together as one ZIP file.
- Free batches hold up to 20 images. Pro and Business handle up to 2,000.
- Smart crop picks the focus point separately for each photo.
- Save a recipe to reuse it. Free accounts keep 3 recipes; paid plans have no limit.
- Ready-made recipes on the home page cover Etsy, Shopify, Instagram, blog images, email and US passport photos.
04 · Export settings
Formats, quality and file size
| Format | Best for | Transparency | Quality slider |
|---|---|---|---|
| JPG | Photos, and anywhere that needs maximum compatibility | No, filled with a colour you choose | Yes |
| PNG | Logos, screenshots and exact pixels | Yes | No, always lossless |
| WebP | Websites: small files for photos and graphics | Yes | Yes |
| AVIF | The smallest files, where your browser can create it | Yes | Yes |
Read the transcript
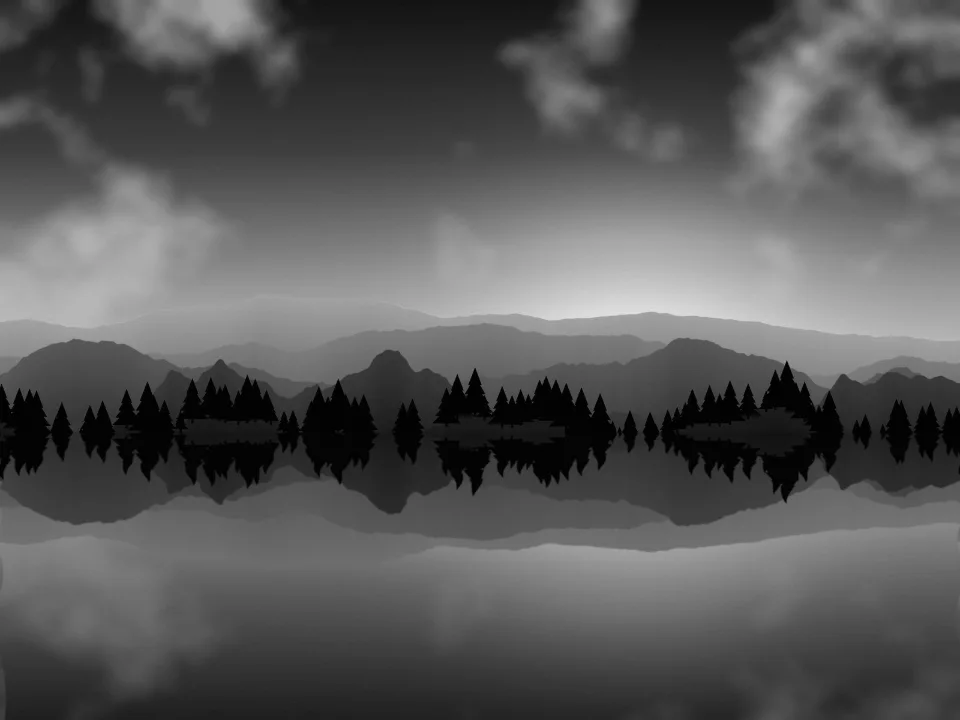
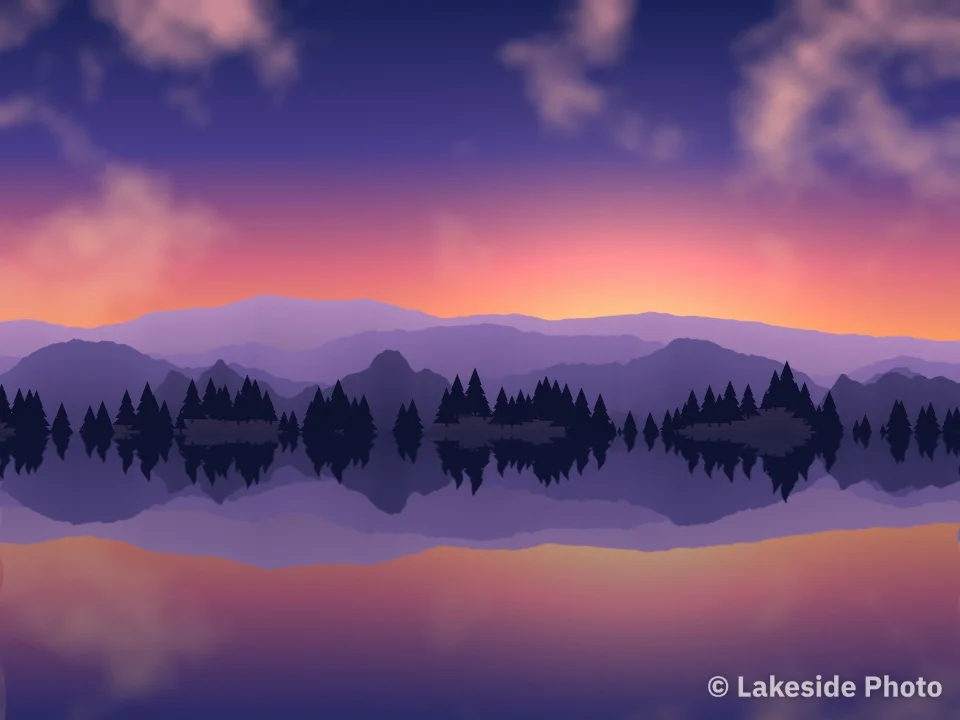
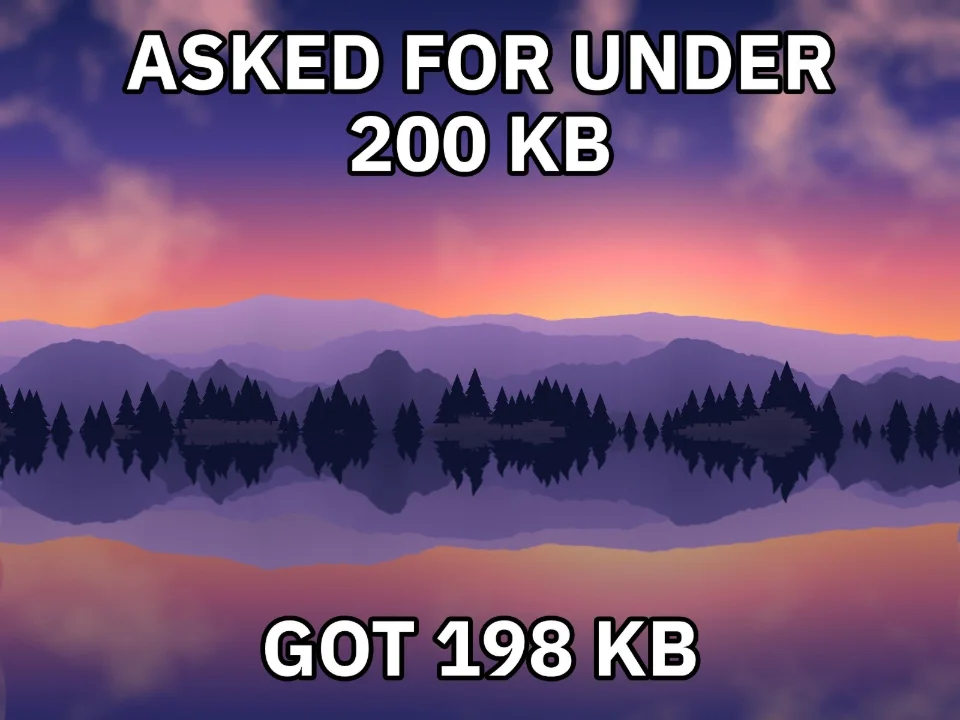
Large photos are slow to upload, and slow to load. Here's how to make them smaller, without changing how they look. This photo starts at almost 3 MB. At the starting quality, it's already about 500 KB. Move the quality slider to the left, and the file gets smaller. The size updates as you go. Use the compare handle to check the detail. Most photos still look the same. If a website gives you a limit, tick Target file size, and choose the limit. Here, 200 KB. The tool finds the best quality that fits, and shows it next to the size. Need it even smaller? Try 100 KB. If quality alone isn't enough, the image is scaled down slightly to fit. Then click Download. Location and camera data are removed automatically.
Export panel
- Format
- JPG, PNG, WebP or AVIF. AVIF is only offered when your browser can create it.
- Quality
- 10 to 100 for JPG, WebP and AVIF. The file size updates as you move the slider.
- Target file size
- Set a maximum in KB. Quality is lowered automatically, and the image is scaled down only if it still does not fit.
- Fill for transparent areas
- JPG cannot be transparent, so choose the colour that replaces transparency.
- File name pattern
- Build names from {name}, {n}, {width}, {height} and {date}.
- Location & camera data
- Always removed from exported files.
- Download
- One image downloads directly. Several download together as a ZIP.
More walkthroughs
Converting, editing and the special tools
Read the transcript
Sometimes an image is in the wrong format. Converting it takes one click. This is a PNG with a transparent background. The checkerboard shows the see-through areas. It opens set to WebP, which keeps the transparency and is far smaller. From about 3 MB down to 75 KB. Choose JPG for the widest compatibility. JPG can't be transparent, so the background is filled with a colour. White is the default. You can change it with the fill colour, right here. Choose PNG when you need every pixel exact. The file is larger, because nothing is thrown away. For most websites, WebP is the best balance. Select it, and click Download.
Read the transcript
The edit tools fix and finish your photos. They all work the same way, as steps in your recipe. Rotate turns a sideways photo in quarter turns. And Straighten fixes a tilted horizon, half a degree at a time. Add a Brightness and colour step to lift a dark photo, add contrast, or go black and white. Add a border, or pad the photo to a square, without cropping anything. And add your name as a watermark. Type the text, then set its position, size and opacity. Every step can be hidden, reordered or removed, so you can always change your mind. Download when you're happy with the result.
Read the transcript
A few tools do one special job. The favicon generator turns your logo into every icon a website needs. Click Download, and you get the icons, plus the code to paste into your site. Image to PDF combines photos or scans into one document. Each image becomes a page. Choose the page size and margin, then create the PDF. And the colour picker reads exact colours from any image. Click a spot, and you get its HEX, RGB and HSL codes. Click a swatch to copy it. Like everything on 2resize, it all happens on your device.
05 · Studio & accounts
Save your work
Without an account
- Where projects live
- On this device, in your browser. They are there when you come back on the same browser.
- Privacy
- Images are processed on your device and are not uploaded.
With a free account
- Cloud Studio
- Projects, originals and recipes are saved to your private space, so you can open them on any device.
- Storage
- 1 GB on Free, 50 GB on Pro and 250 GB on Business.
- Version history
- Restore an earlier recipe for a project. Free keeps 7 days.
Sharing
- Share links
- On Pro and Business, create a private download link for a finished batch. Links work for 7 days.
- Plans
- See pricing for the full comparison.
06 · Keyboard shortcuts
Work faster
| / | Open the tool finder |
| Ctrl / ⌘ + V | Paste an image from the clipboard |
| Ctrl / ⌘ + Z | Undo |
| Ctrl / ⌘ + Shift + Z | Redo |
| Ctrl / ⌘ + S | Save the project now |
| ← → | Previous or next image in the batch |
| Delete | Remove the selected thumbnail |
| ← → on the compare handle | Move the before/after divider |
07 · Tool guides
A guide for every tool
Resize & crop

Compress

Convert


Edit & utilities
No guide matches that. Try a shorter word.
Still stuck? Email tworesize@gmail.com